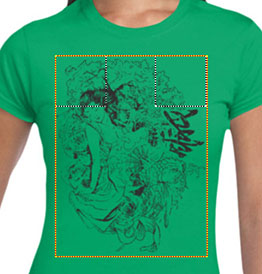
How do I design my own t shirt online?
You start by choosing a shirt, uploading your design and adjusting the size and placement. The key is making sure your artwork is clear and properly positioned so it prints correctly.
What image format is best for t shirt printing?
High resolution PNG or vector files such as EPS work best. These ensure sharp prints and avoid blurry or pixelated results.
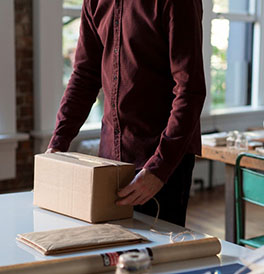
Can I get t shirts printed the same day in Brisbane?
Yes, same day printing is available for urgent orders. You need to select the rush order option during checkout and ensure your design is ready.
How long does custom t shirt printing take?
Production times vary depending on your order. Same day options are available, while standard orders may take several days plus shipping time.
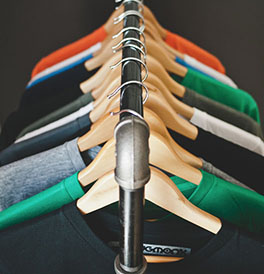
What is the best colour shirt for my design?
Light shirts suit dark designs and dark shirts suit lighter prints. Good contrast ensures your design stands out clearly.
Can I add names and numbers to shirts?
Yes, you can personalise each shirt with names and numbers, which is ideal for teams, events and group orders.